Producing annotated concept sketches and drawings is fundamental to the design process. Designers must be able to translate their ideas into visual images that others can see and understand.
Students do not need to be artists to produce design sketches and drawings. This is because the sketches and drawings are supported by annotations and written text to help explain various features. Also, initial sketches should not be thought of as polished pieces, but as a work in progress that students can modify and adjust as they receive feedback or their ideas change.
The below strategy will help students to annotate their concept sketches and drawings to support others to understand their ideas (VCDSTC048,
VCDSCD050,
VCDSTC059,
VCDSCD061).
- The teacher presents a design challenge to the class.
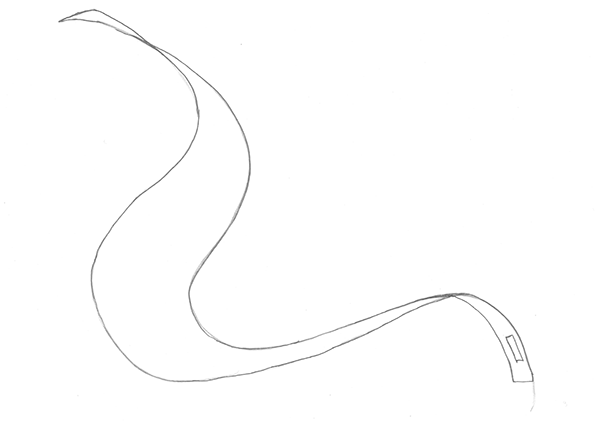
- For example, “Create a futuristic bedside lamp that is sustainable and can be used to charge devices”. Note: The teacher may jointly construct definitions for new or unknown words (e.g. ‘futuristic’).
- Students have two minutes to think of a solution and sketch their design.
- Students show their design to a partner.
- The partner asks questions about the design, and the first students record the answers as annotations to the sketch. Annotations will typically involve technical labels, simple noun groups.
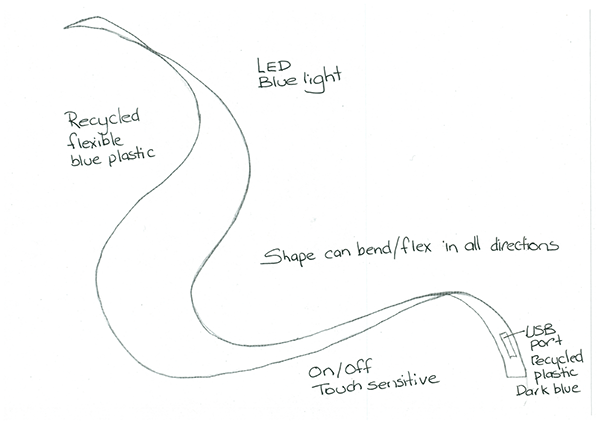
- After each student has annotated their sketch, they review their solution and emend their annotations.
- Students show their design to another person and repeat the process of asking questions and recording annotations.
- Once students feel they have recorded sufficient annotations, they present their solutions to the group.